Have I mentioned that I teach eighth graders to sew? I do! I go in once a week in the fall and the spring and, along with a friend, teach a group of 12 or so kids how to use a sewing machine. We start simple and work up to some more difficult projects. This fall, our group included three boys and my friend suggested a necktie as a final project. It was such a great idea, but the only pattern I had seen involved a lot of hand sewing and, honestly, the kids don't dig those kind of projects. With a little research, I found the Everyday Necktie pattern and accompanying video tutorial by Dana at Made Everyday. You guys! The eighth graders rocked it and I loved how their ties turned out. This is a great pattern and a great project that will make a great gift for any guy on your list!Yesterday I made the four ties above for my nephews. The blue ties on the side are the tween size (for the 5- and 7-year olds) and the ones in the middle are the adult size (for the 10- and 12-year olds). There is also a kids size, but it's tiny. Like really small. They come together quickly - only 5 passes through the sewing machine! My sister-in-law chose these cute Cotton & Steel Christmas fabrics and I lined them all with a white solid. The ties are cut in two pieces on the bias, so you do need about 3/4 of a yard for each tie. That said, I was able to cut the lining for all four from 1 1/2 yards of my white so you can definitely get a couple of ties out of one yard. My suggestion is just to print out the pattern and lay it out on your fabric before cutting. And because of the bias, it's a good idea to choose a fabric that looks good on the diagonal. It makes a difference. Some good contenders are checks, plaids, stripes, all over small floral prints and even direction prints that are laid out in a grid (like the navy gifts and red snow animals above). Large scale prints can work, but definitely audition them first.I will definitely be making more ties. I'm thinking of getting fancy and using Liberty...can't you just see it? Do you have any quick handmade gifts you like to make? Let me know - I need some fresh ideas!
For the past few years, I have made and donated a quilt or three to our church and school's summer picnic. To win one of these quilts, you buy a chance on a wheel. When all of the chances on the wheel are sold, the wheel is spun and the winner gets to choose the quilt they want. It's a fun system and it's very easy to get a particular quilt if you really, really want it - you just buy the entire wheel.
This year, I had promised two quilts, but ended up with three to donate. All were made from a kit or fabric from my stash. I love the challenge of pulling something together from what I have on hand and using up what I already own. It's so satisfying. I free-motion quilted all three in one day on the rental long arm at Quilted Joy despite some comical missteps (Too small backing! Twice!). If I didn't have the option to do them this way, they wouldn't have gotten finished. While I enjoy quilting on my domestic machine, the time it takes to do that, let alone baste the quilts, is prohibitive for charity work. Plus using the long arm is just plain fun!
First up is this Stack Quilt. The pattern is by Nicole of Modern Handcraft and was fun to put together. I deviated from the pattern a little bit by adding one extra column of stacks and using a full width of fabric for the top portion. The prints at the bottom are an older Cotton and Steel line, Homebody, with some basics thrown in and the solid is Kona Snow. I went a little crazy with the quilting, trying out all kinds of different patterns on the long arm. I had fun making it.
Second was this giant star quilt. I used Jeni Baker's tutorial that she shares on her blog, In Color Order. As you can probably guess, with blocks this big, I was able to piece this quilt in no time whatsoever! I picked the prints from my stash (mostly Cotton and Steel plus a Japanese gingham) to coordinate with the cheery pink solid, Kona Punch. Quilted with loops (my favorite!) and bound in the same solid, I just adore how it turned out. I think there will be more quilts like this in my future. Easy, fast and fun!
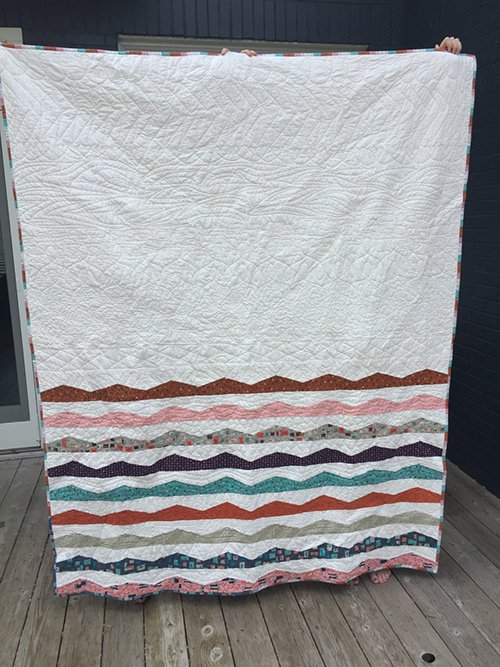
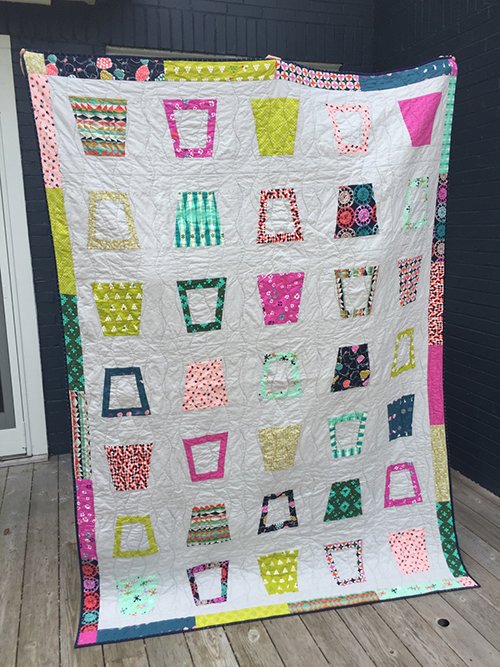
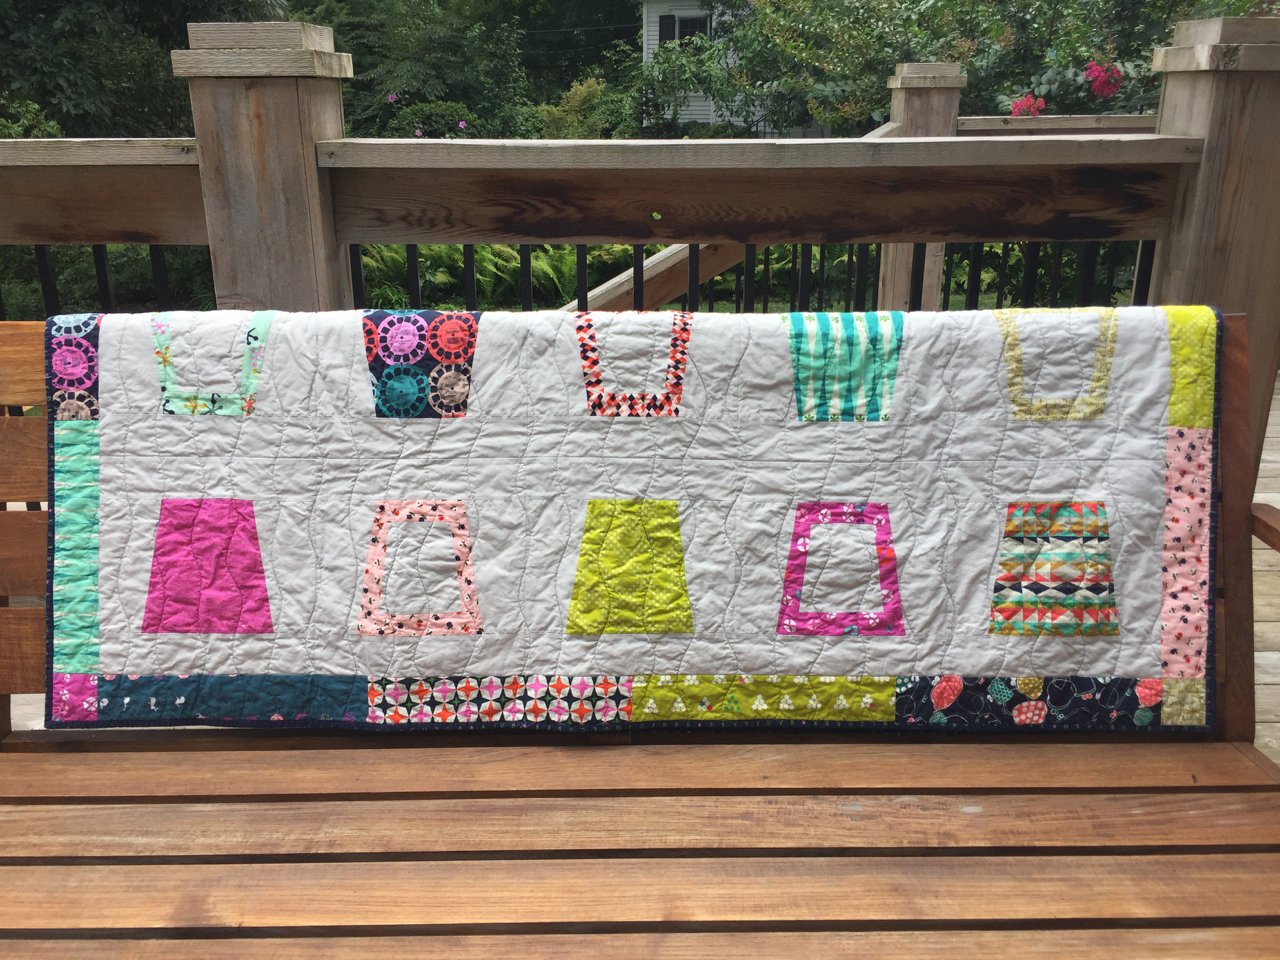
And the final quilt I donated is the Glass Half Full pattern by Lindsay Sews. I bought this as a kit from Craftsy a few years back (it is no longer available) and had cut most of it at least a year ago. I had forgotten about it until I happened upon it while cleaning up the studio in the spring. It's easy enough to make - the pattern is well written and accurate - but it has so many steps and a ton of cutting that I burned out before I got to the sewing. Once I picked it back up, I was able to get the top finished over the course of a week. It's twin sized so I quilted it with some wavy lines to make sure it would drape nicely when in use. I think it turned out sweet and I know that it is being loved and used in its new home.Phew. Three quilts in one post. Never thought I would do that. There is more to come, including a list of what I read over the summer and so far this fall. See you soon.
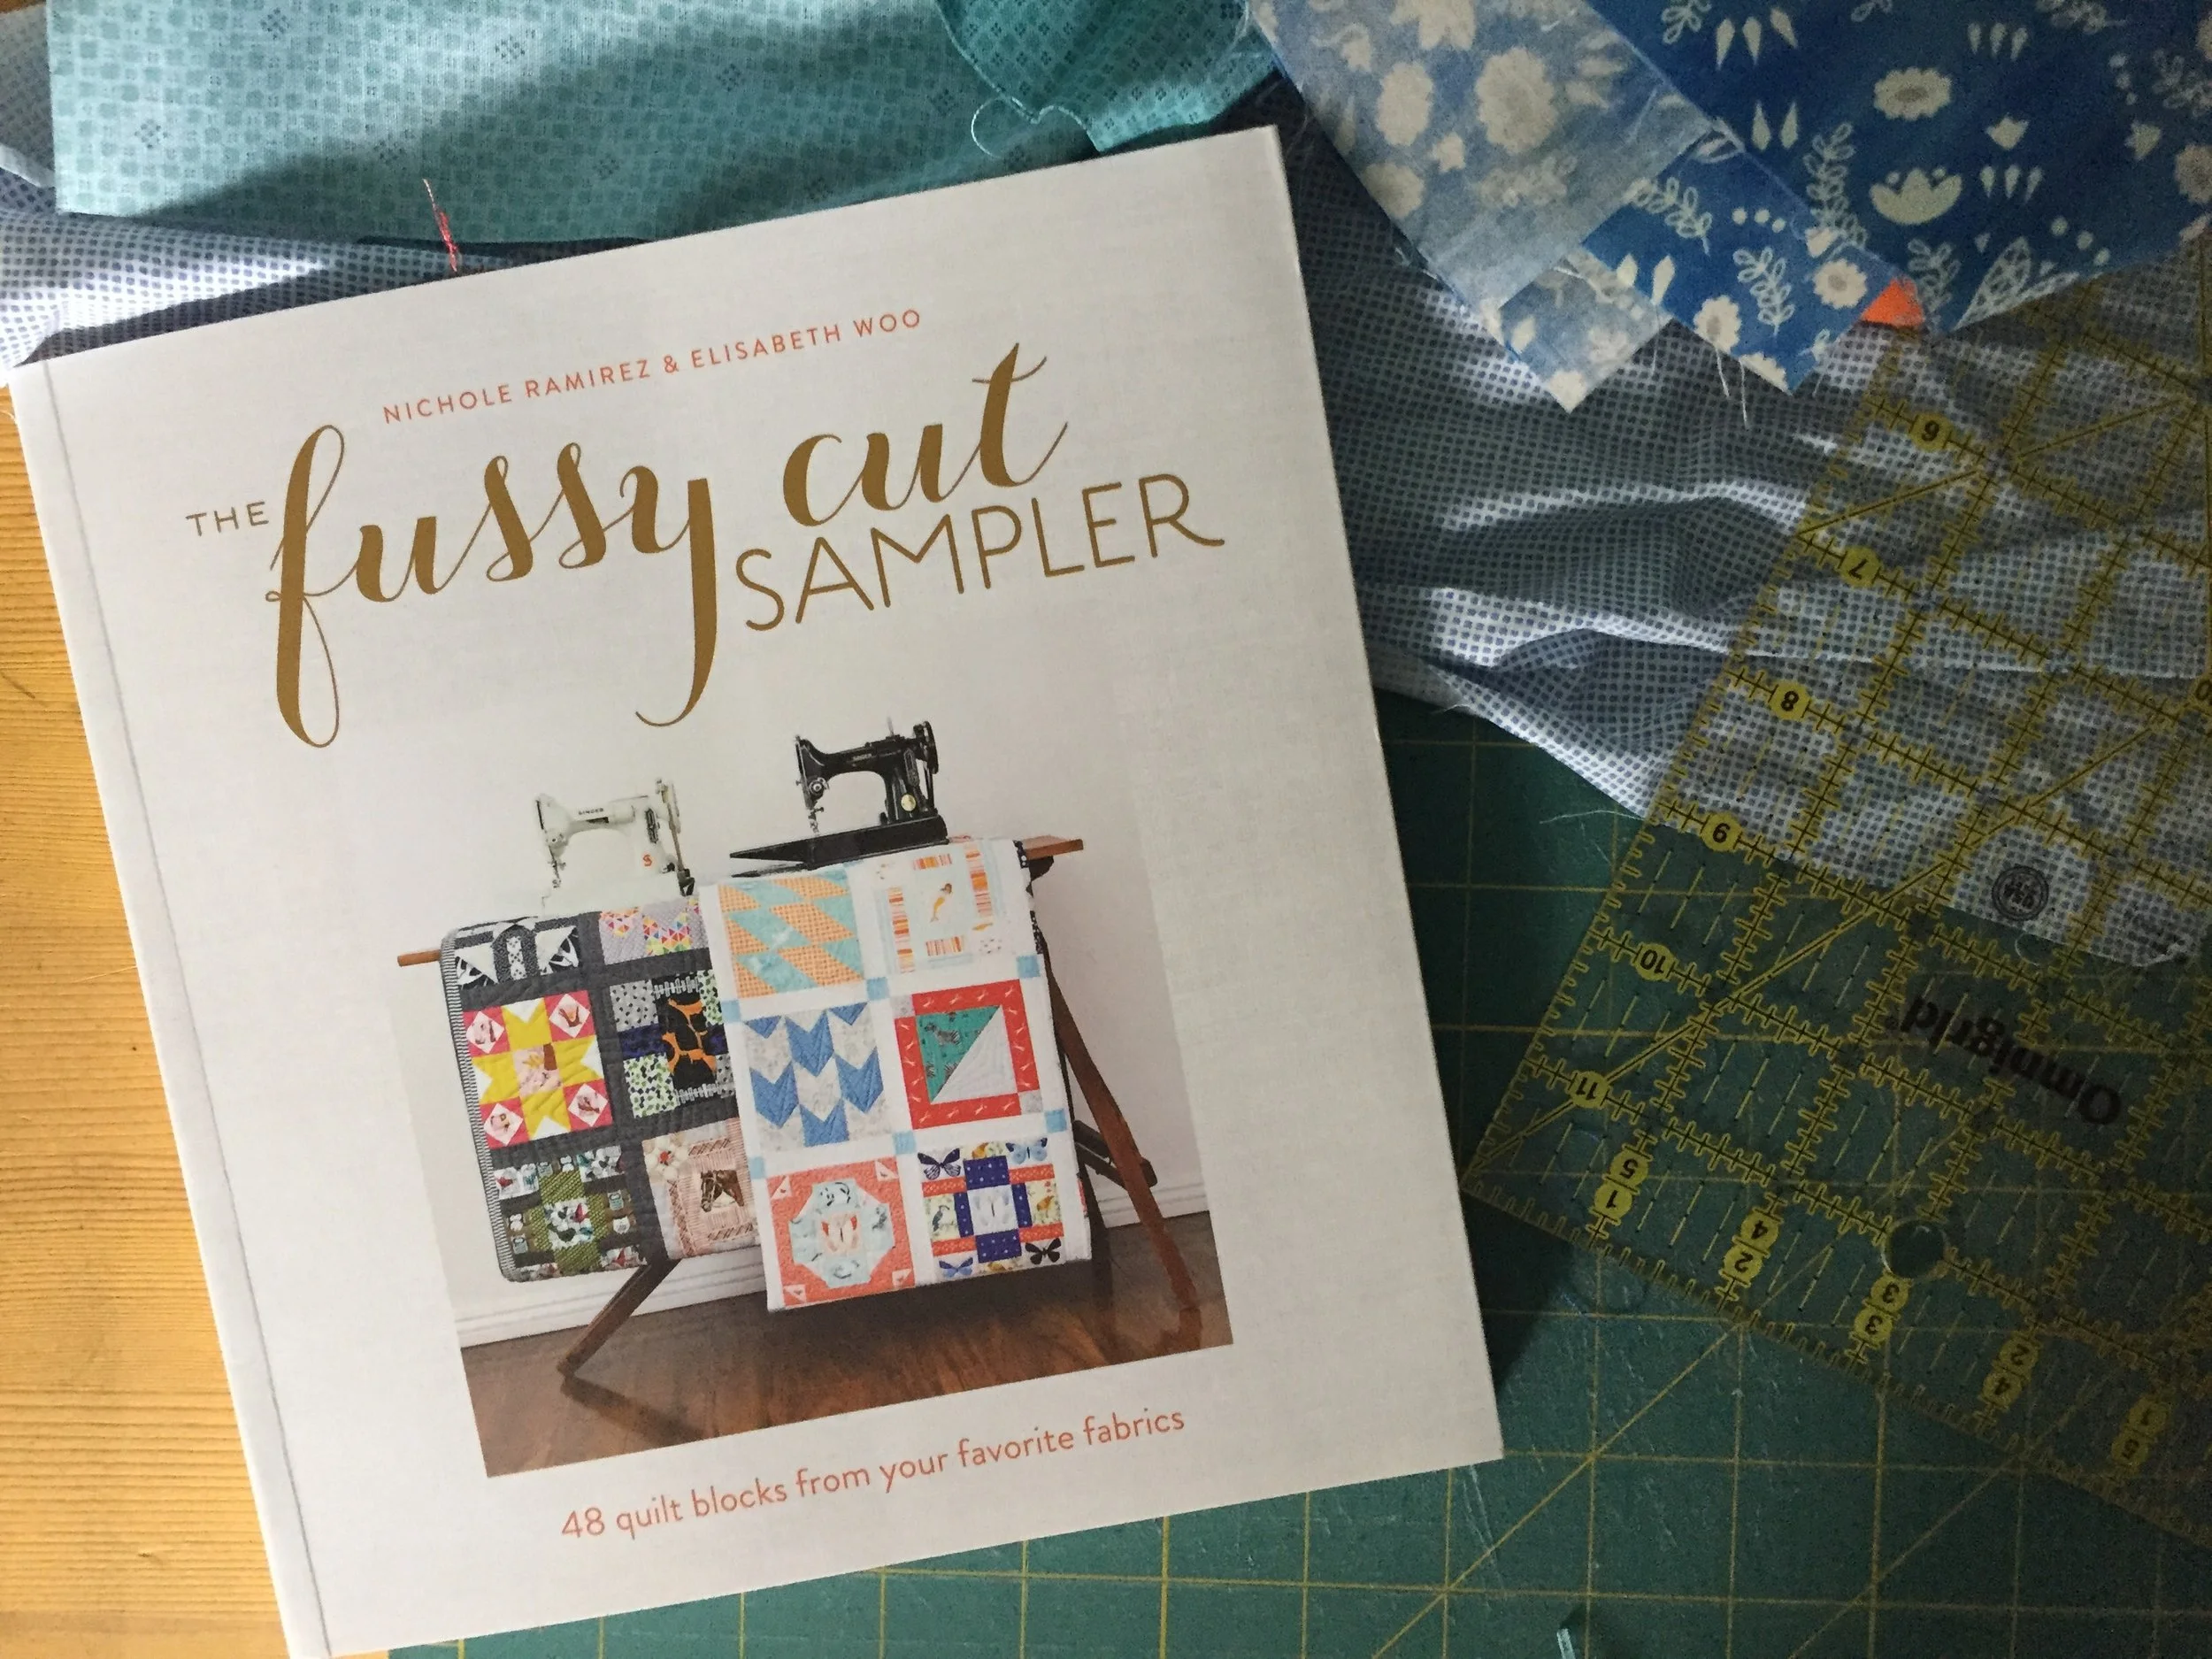
A few weeks ago, my copy of The Fussy Cut Sampler by Nichole Ramirez and Elisabeth Woo arrived on my doorstep. It is such a beautiful book with 48 great quilt blocks that made me want to cut up some fabric right away. Nichole and Elisabeth walk the reader through all the in's and out's of perfecting fussy cuts in quilts which is something I could use some help with. I have fussy cut before, but not to the extent these ladies do, and let me tell you, just reading through I was having all kinds of a-ha moments. They are so smart!
To top things off, there is a sew-along happening right now for the book. It started this past week and continues through the summer with the goal of four blocks each week. You can get all the details on Nichole and Elisabeth's blog. (There are some amazing prizes!!!) I really tried to resist, but it was useless. I had to jump in.
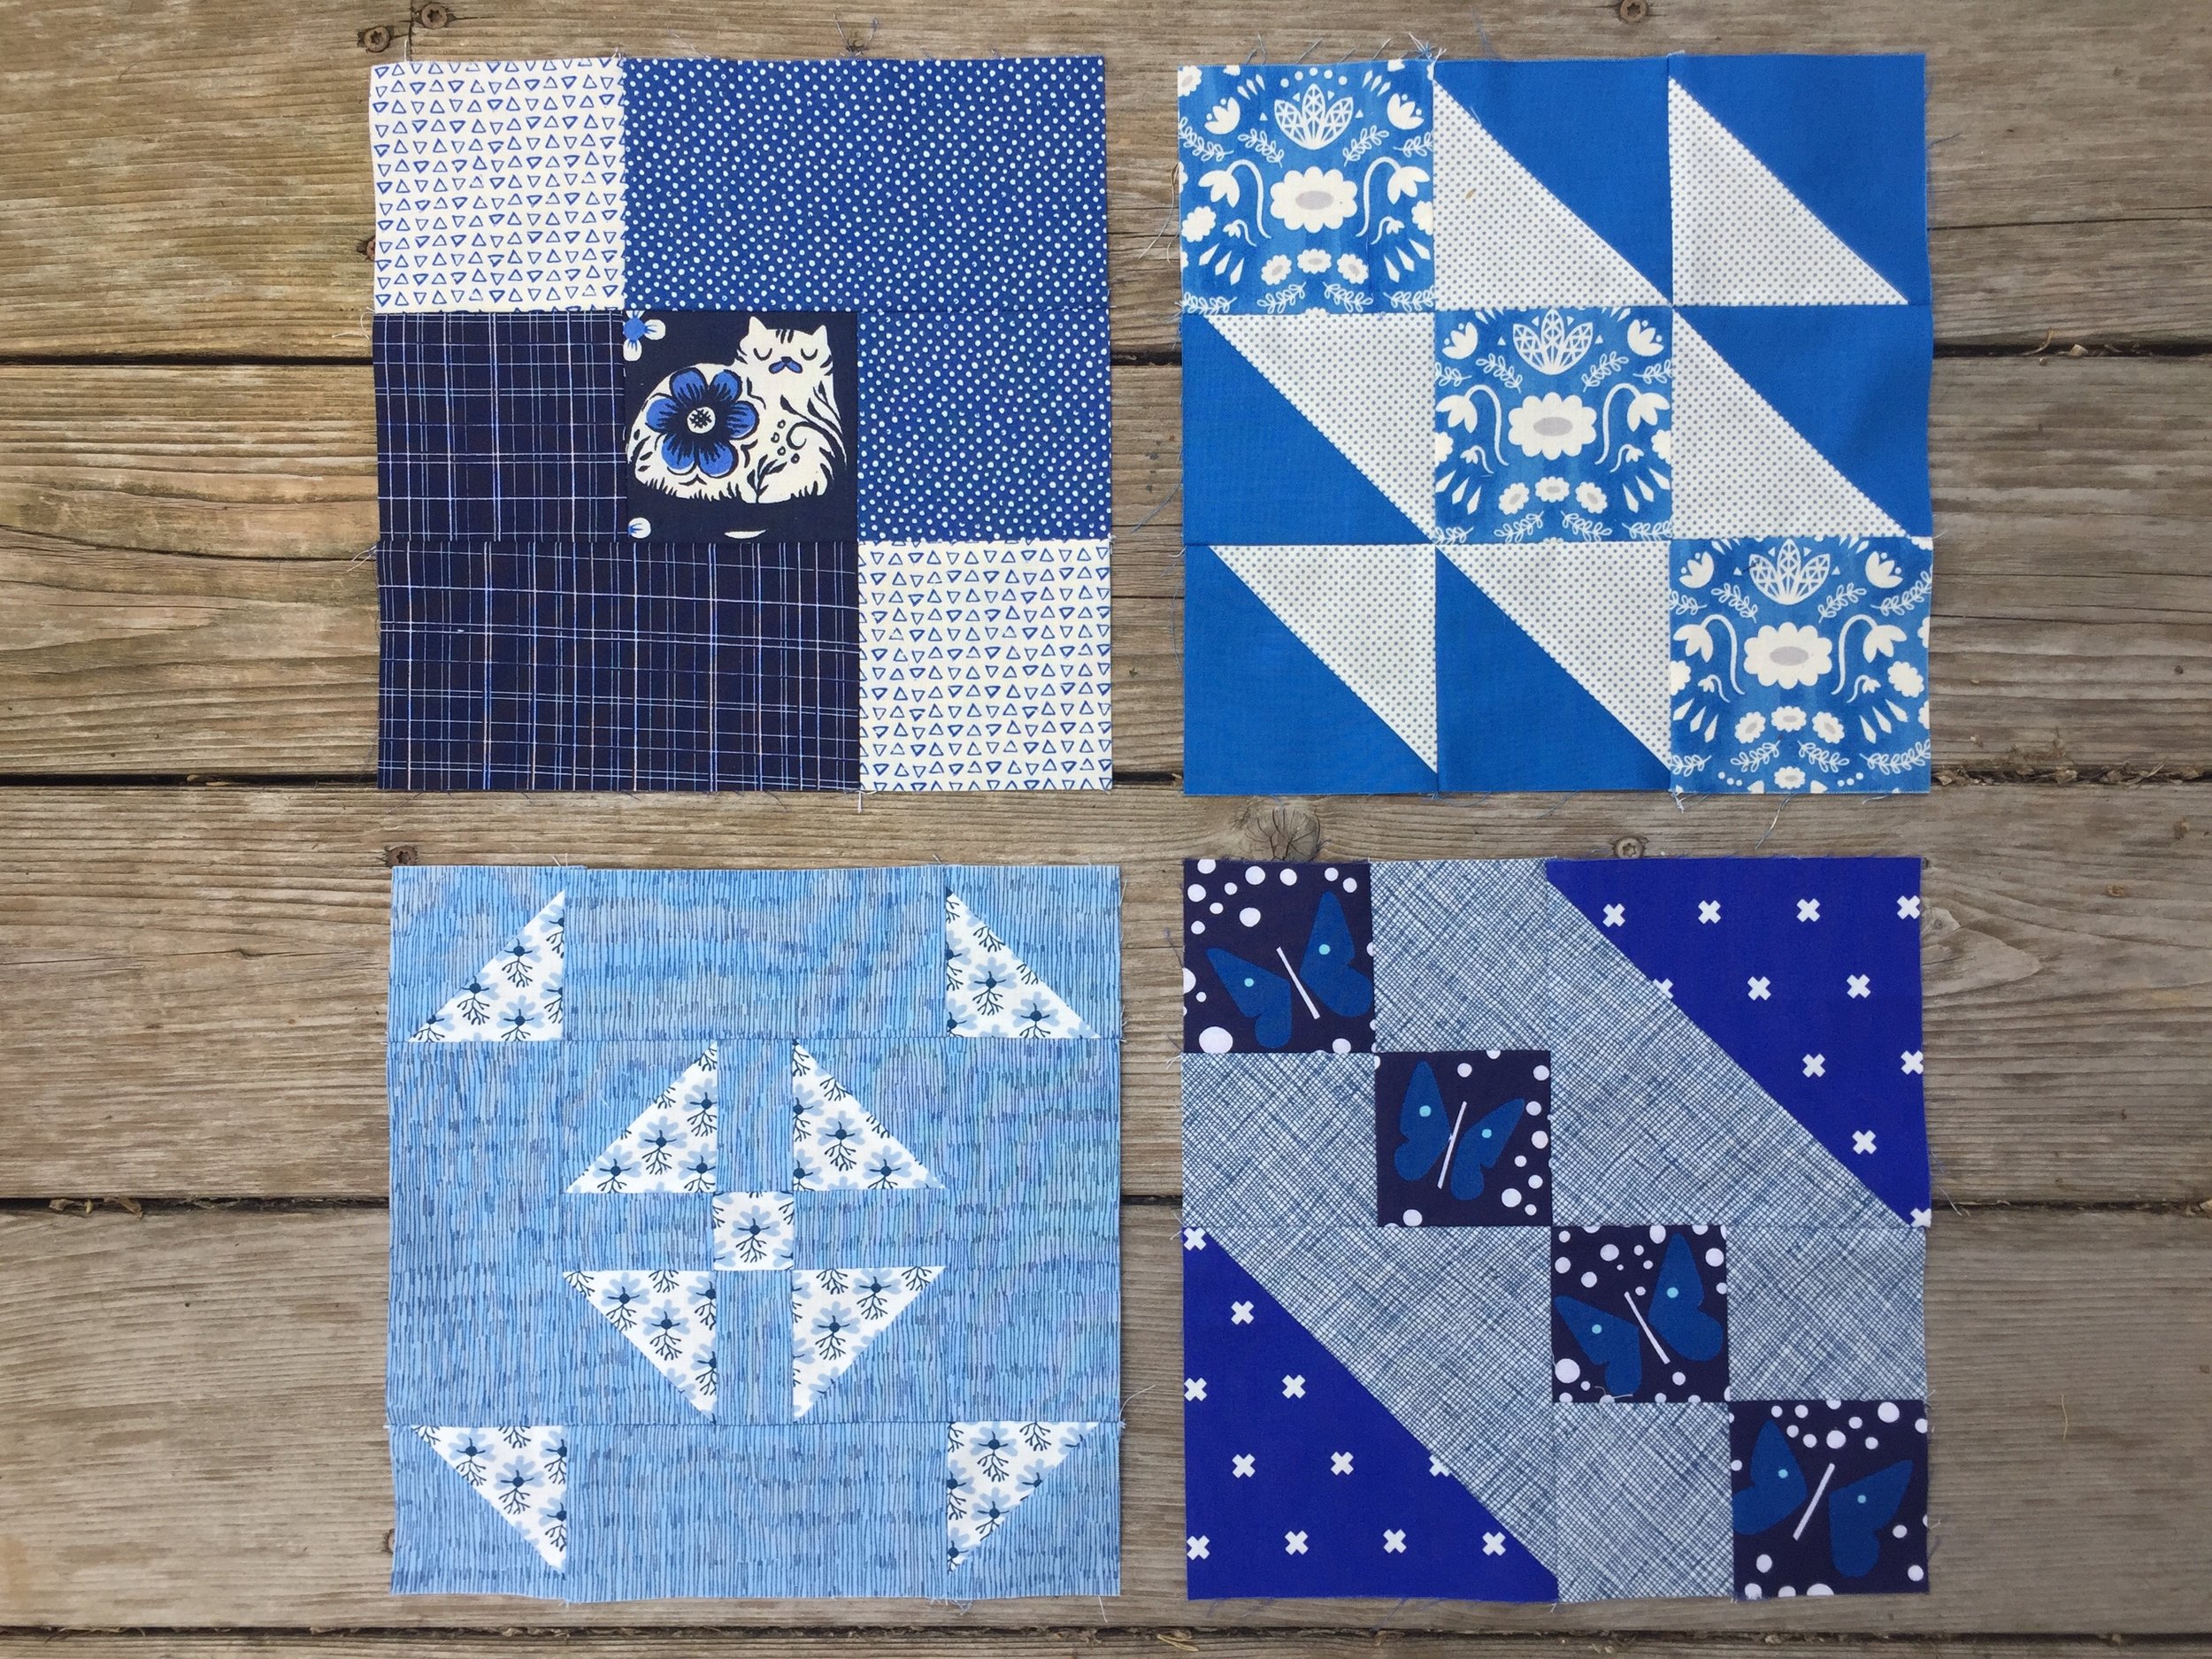
Here are my first four blocks. I am working only from my stash and only in blue and white. The constraints are making me really stretch myself and that is good. It's kind of crazy just how much fabric I have that fits those parameters! I am going to try and stay on track with the sew-along, but no promises. It's summer, my kids need me more, we are traveling some and I am still working behind the scenes on my book. All good stuff. Sewing, included.
This post contains an affiliate link.
Thank you for the kind comments here on the blog and on Instagram about my new book, Make Your Own Medallion! I am so excited to share more about it with you over the next few months. I'm even more excited to have it out in the world and see what you all make with it.
Because my focus has been on sewing quilts and blocks for the last several months, I have been itching to sew some clothes. Does that happen to anyone else? It's kind of like a palette cleanser, I guess. I am also trying to work through my stash and using up two yard cuts of apparel fabric is making a noticeable dent. I took a long look at my closet and realized that, although I love making and wearing dresses, making some shirts and skirts would have more utility for me day in and day out.
I started with the Match Top pattern by Meg at Sew Liberated. I made a muslin out of a Leah Duncan voile in a size 12. Based on the size chart (body measurements), I fit in the 14. I was bummed to find that there are not finished measurements included with the pattern because I find it so helpful to compare the body measurements to finished measurements to choose my size and see if I need to add length for my long torso. So, I made a guess and went with the 12 after searching for photos on Instagram and seeing how loosely it fit people. The muslin is wearable and fits, but I knew that I would prefer less fabric and more length so I tweaked it quite a bit for my Liberty one.
For the Liberty version, I started with a size 10, but kept the length of the arm hole at size 12. I lowered the neckline notch two inches so that it was between the two notches given on the pattern. I also added 2 1/2'' to the length - 1 1/2'' for my torso and an extra 1'' so I could make a deeper hem. When I sewed it up, I centered all the back gathering instead of spreading it out over the entire collar. Likewise, for the front gathers, I left less towards the shoulder than towards the front. I cut the collar at a size 8 to further emphasize that opening. The fit is better, although slightly tight under the arms. It looks really cute with jeans and I will wear it, but I don't think it is the best style for me. Maybe as a dress? I may experiment with that.
Next up, I made a Grainline Willow Tank Dress Tank in a Liberty print I bought last summer. I went up to a size 14 after my experience making the lawn one last summer. If I were making it out of a loosely woven fabric such as double gauze or linen, I would still make a 12, for what it is worth. Just like the ones last year, I added 2'' of length and that was the only adjustment. I love it and was able to get it out of a 1 1/2 yards. #winning!
Then I finally got around to making the Gemma Tank by Made by Rae. I don't know what took me so long to get to this because Rae's patterns are so well done and the fit is spot on. I made a L, C/D cup, with the scoop neck out of a Cotton and Steel double gauze. I had 2 yards of this pattern and was/am hoping to squeeze a pair of pj shorts out of what is left so I used a light pink voile from my stash for the bias tape on the neck and armholes. Rae's pattern calls for the bias to be sewn on the exterior so it is visible, but I went ahead and folded it to the inside because that is my preference. What I neglected to think about was that this would make the neck 1/2'' wider and the armholes a 1/4'' wider as well as making the straps 1/2'' narrower. Rae does mention this in the sewing instructions, but I just didn't take note. Still...I love it. It fits like a dream and I didn't have to add any length! The hem was a little fiddly, mostly because of the double gauze. I ended up serging the raw edge before hemming and that helped some.
And then I made another Gemma Tank because I could! I added the extra 1/4'' seam allowance to the neck and armholes so the tank would maintain the original design lines. For the hem, I serged the bottom edge and just turned that up 1/2'' which worked well with this mystery embroidered white cotton fabric. I know I am going to wear the heck out of this one. It's a great addition to my closet. But, I might like the thinner straps of the first Gemma more. Hmm.
Ok...I think that is it. Questions? Hit me. I'll respond in the comments so other can benefit from the answers, too.
I'm not done sewing clothes...skirts are on the agenda next.
I have a major crush on a color combination. I cannot get it out of my mind and find myself thinking of all the quilts I could make with fabrics in these hues. Are you ready?
Orange, caramel, lilac, berry-red, plum and cream.
As a die-hard lover of the color green and a huge fan of all shades of blue and cool toned colors overall, I have surprised myself. Again. And really, I shouldn't be so shocked. Every single one of these fabrics are from my stash and, by the looks of it, these colors have appealed to me in fabric form for a good long while. The combination of them together, though, is a little far-out for me. I don't think I have ever made something with so many warm toned fabrics.
What's a girl to do? Start cutting, of course.
What color combos are you into these days? I'd love to know. Your favorites might have me looking at my stash through different eyes and I would really like that. I have put myself on a fabric-buying hiatus until I can finish some WIPs and/or bust through some of my stash. That probably includes de-stashing a good chunk of what I have that I won't likely use. I'm not sure when that will happen, or where (here? on Instagram?), but I will keep you posted.
Have a great weekend, my friends.
I made one gift this past Christmas - a quilt for my niece Violet. She was born in July and I really can't think of a better gift for a baby than a quilt.
I stumbled upon this darling print by Kim Kight from her Penny Arcade line for Cotton + Steel. I just love the little animals and children and balloons. I also love the colors - they are bright and fun, but not too baby-ish. I used this as the jumping off point for the color palette and the rest of my prints. I pulled reds, purples, pinks and blues and made sure all of the prints were fun to look at. There is popcorn and birds and flowers and telephones and apples as well as graphic prints. Everything came from my stash except for the background fabric which is Crosshatch in Blue by Carolyn Friedlander. This fabric, in any color, is among my favorites. It plays well with others and works great when you'd like a solid with more texture. I love it.
The pattern is Friendship Pinwheel by Missouri Star Quilting Company and uses layer cakes. I didn't have pre-cuts so I just cut my yardage to the required sizes. It was easy, fast and fun to sew up. Once I had the cutting complete, the piecing took a couple of hours. Also: big blocks! 18" finished. You know I love that.
I quilted this on the long arm rental at Quilted Joy. I chose big loops instead of a denser pattern so the quilt would be soft with some drape. Violet's name is quilted in, too. I did the same for her sister so I couldn't not do it for her, too! The batting is cotton which gives it a lovely crinkle and it should get softer with use. The binding is one of my very favorite florals and was completely sewn on the machine. Its finished measurements is 54'' square - small enough for throwing on the floor, but big enough to be used beyond the baby years.
I've been wanting to make a Christmas quilt for awhile and last week, I decided that it was about time. In a matter of a couple of days, I had cut all the pieces for this Super-Sized Ohio Star quilt and pieced the entire top! Then, I decided to make a second one. It truly is fast and easy! And to prove it, I wrote up a tutorial for the block to share with you all.
Get the FREE tutorial for this Super Sized Ohio Star Christmas Quilt right here.
A couple of notes:
- The tutorial is entirely hand written and hand illustrated so, needless to say, the drawings aren't to scale. I am pretty sure that I spelled everything correctly, but I just went for it using a black sharpie so please excuse any grammar/spelling mistakes.
- This super-sized block finishes at 18". I used 16 of them for a 72" x 72" square quilt. You could definitely go smaller. In fact, I love making nine 21" finished blocks for a 63" x 63" quilt and I give you the cutting instructions for those as well.
- In the tutorial, I say that you need 16 fat quarters or 16 quarter yards of the prints. You can get away with fat eighths if you have those, but an 1/8 of a yard will not cut it.
- I didn't specify a seam allowance so use your standard 1/4" for quilts.
- If you decide to print out the PDF, you may want to reduce it to 95% or the like. I used the entire sheet of paper because I was writing and drawing. If you print it at 100%, some information might get cut off.
- Let me know if you make one! You can tag me on instagram ( @houseonhillroad ) or use the hashtag #houseonhillroad.
- Questions? Ask them in the comment section of this post and I will do my best to answer them here so others can benefit from the information.
Now go sew. Seriously. Go. Sew.
I
A little while back, the great people at Robert Kaufman asked me to make a 20" mini quilt celebrating Highlight, the Kona Cotton Color of the Year. They sent me a curated stack of gorgeous Kona solids and minimum direction - 20" square, make Highlight the star, create something "me."
While the stack of fabrics included a rainbow of colors, it was the warm tones that really spoke to me. And because I didn't have a lot of time to make this mini, I didn't have much time to spend thinking about it either. I chose a favorite technique - improv piecing - and a favorite shape - Dresden/wedge - and jumped in. I am so pleased with how it came together and I had a ton of fun making it.
This mini is hanging in Houston at the Quilt Festival along with 59 other designers' highlight minis. The festival is open to the public if you are in the Houston are and interested in going.
A big thank you to Robert Kaufman for including me in this exhibit. I felt honored to be asked.


