Patchwork Camera Strap Tutorial
Hey there! Long time, no see. I am happy to be back in this space (always!) with a tutorial to share with you all.
Some of you may remember that I used to make patchwork camera straps and sell them periodically. I recently had the opportunity to make one for Bonnie Christine's newest fabric line, The Open Road, for Art Gallery Fabrics. Because I am not interested in making these to sell any longer, I decided to write up a tutorial for any of you who are interested in making your own.
For one patchwork camera strap you will need:
fabric scraps, at least 4" wide in one direction. (Tip: go for a variety of patterns in different scales for the most successful combination.
fusible, mid-weight interfacing cut to 3" x 24" (I like Pellon Decor Bond)
polyester thread - I use white on the patchwork and black on the strap ends.
spray adhesive (I like 505 brand)
sewing machine with a walking foot
You will also need:
scrap of marine vinyl or leather for strap ends, at least 4" x 4" - cut 4 strap ends using the template. Download the template HERE
3/8" nylon webbing (two lengths of 16" each) and two each 3/8" triglides (the adjustable hardware on the strap) and 3/8" keepers.
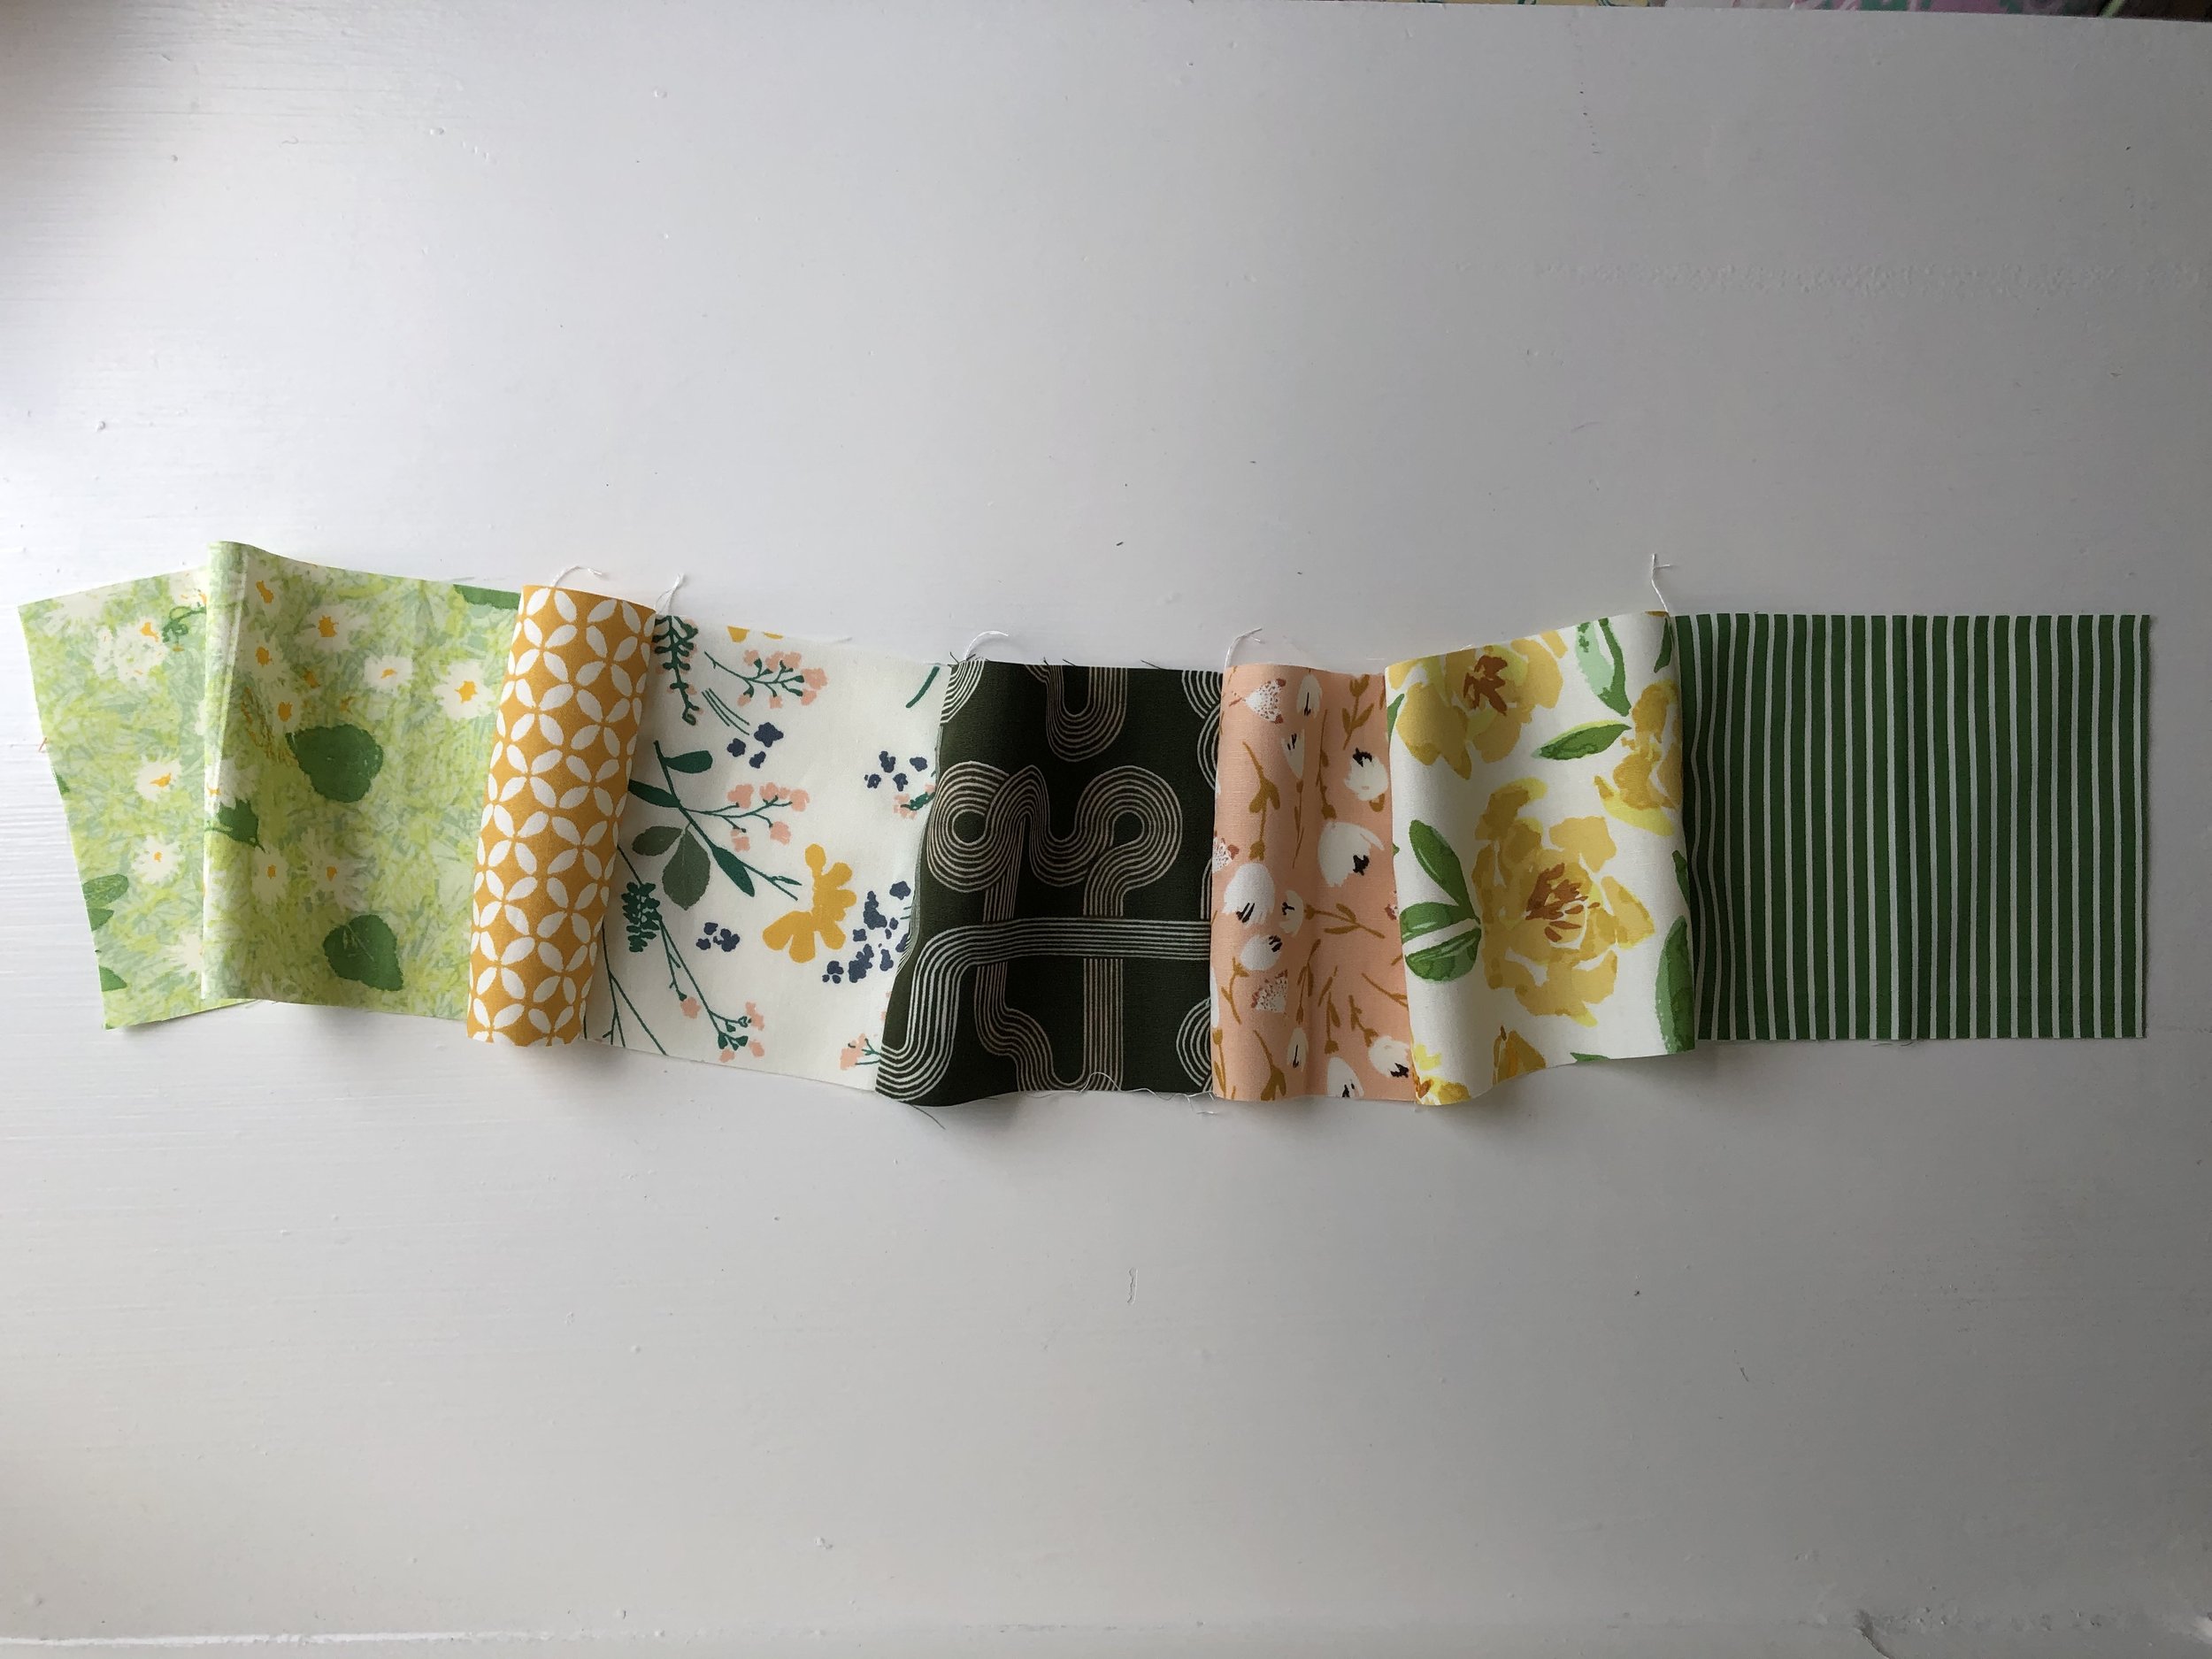
Gather your fabrics and take some time to arrange them in the order you like. You will want to have a finished length of patchwork that is 4" x 25". I often cut the fabrics on each end of the strap longer than I think I will need and then trim to 25" after it is sewn.
2. Sew the fabrics rights sides together, using a 1/4" seam allowance. Press the seams open.
3. Center the fusible interfacing on the wrong side of the patchwork strip and fuse it in place. There should be 1/2" of fabric showing on all four edges.
4. Press the excess fabric towards the interfacing along both long edges. The short edges should remain unpressed.
5. Fold the strap in half, matching long edges and press it along the folded edge.
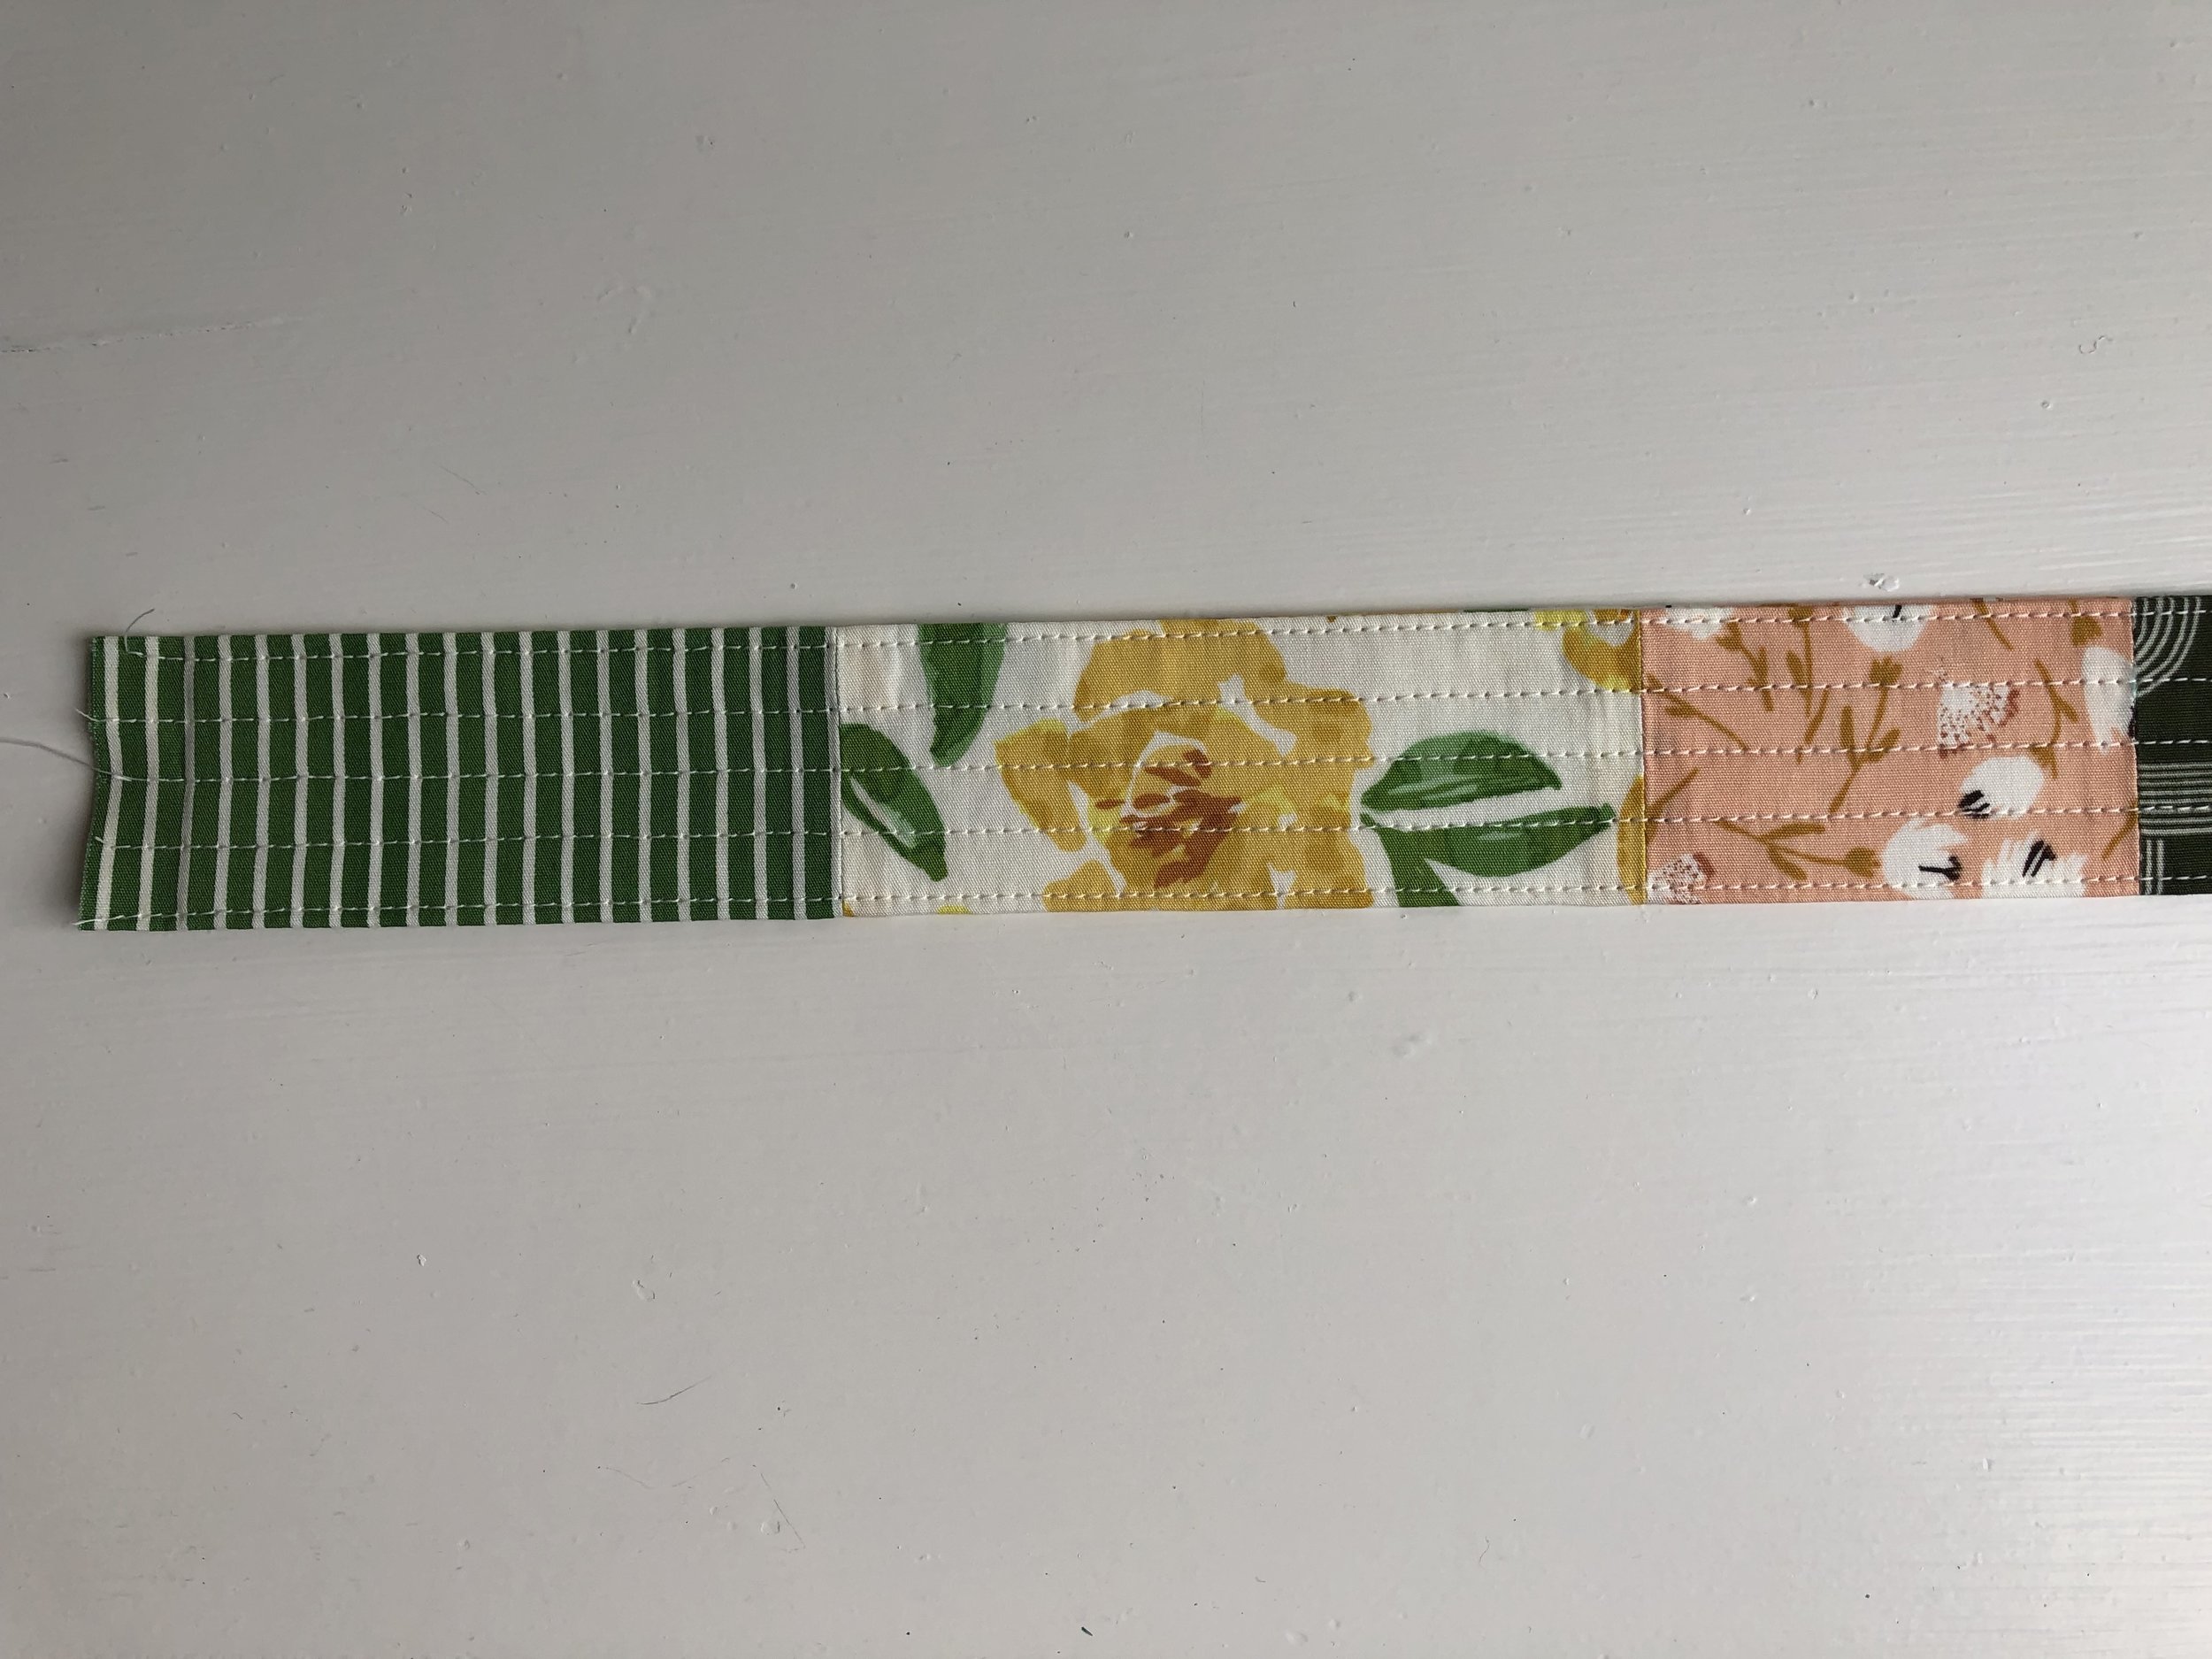
6. Stitch the opening closed 1/8" from the open edge. Then sew another line of stitching 1/8" from the folded edge. You do not need to sew the short edges.
7. At this point, you can add additional stitching if desired. It is my opinion that this increases the strength of the camera strap. I sew down the center of the strap and then between the center line of stitching and each edge.
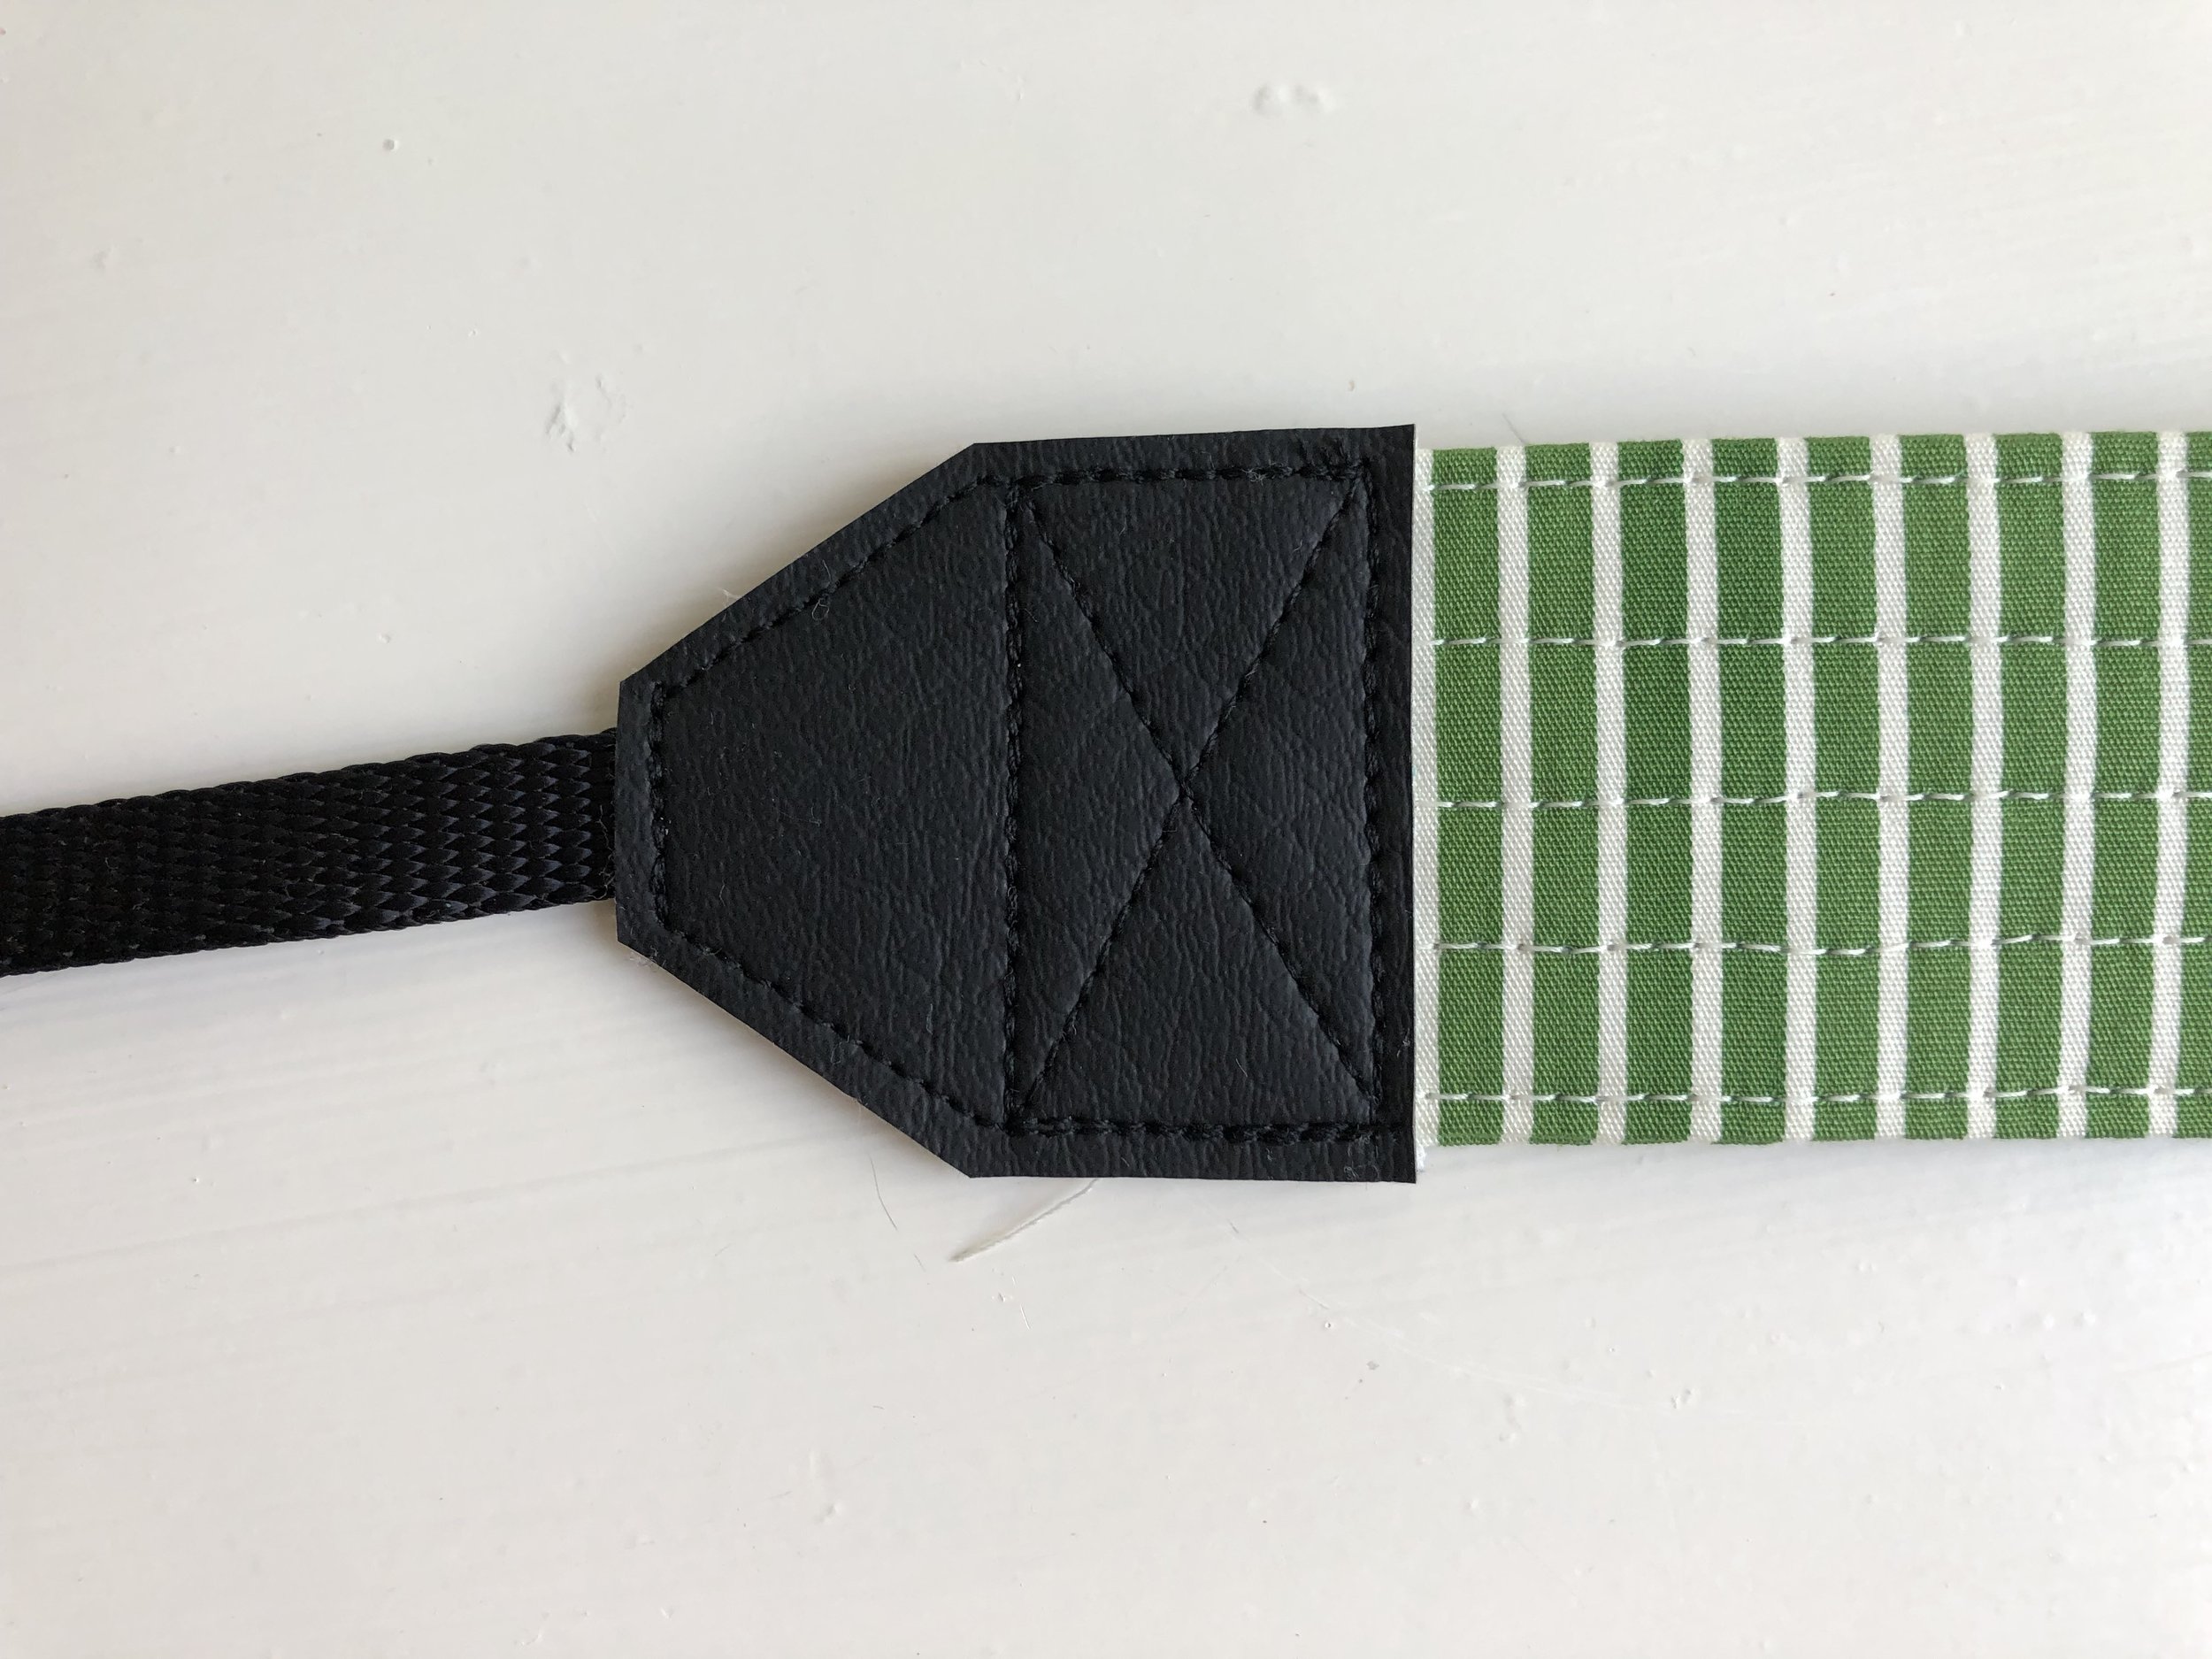
8. Cut four strap ends using the template provided above. Spray the wrong side of the strap ends with your spray adhesive. I like to do this by placing the strap ends in a cardboard box and taking the whole set up outside to do the actual spraying.
9. Place one strap end right side down on a work surface. Place the camera strap on the strap end so it extends almost the full length of the wide part of the strap end.
10. Place one 16" length of the nylon webbing over the short edge of the strap end so it extends 1/2" on to the patchwork strap.
11. Place a second strap end on top, matching up edges with the bottom strap end and enclosing the nylon webbing and patchwork strip. The spray adhesive keeps everything in place so you will not have shifting when you move the strap to the sewing machine.
12. Using the walking foot and referencing the photo and diagram above, first sew around perimeter of the strap end (shown in red). Backstitch over the nylon webbing to give it extra security. Next, sew a rectangle with an X (shown in yellow) to reinforce the strap end.
Repeat steps 9 through 12 with other end of the patchwork strap and the remaining two strap ends.
13. Thread a keeper and then a triglide on to the strap.
That's it! If you have questions, please ask them in the comments and I will answer them there for everyone's benefit. If you make a patchwork camera strap using this tutorial, I'd love to see one. You can tag me @houseonhillroad on Instagram .
I hope your summer is going well. See you soon!


